
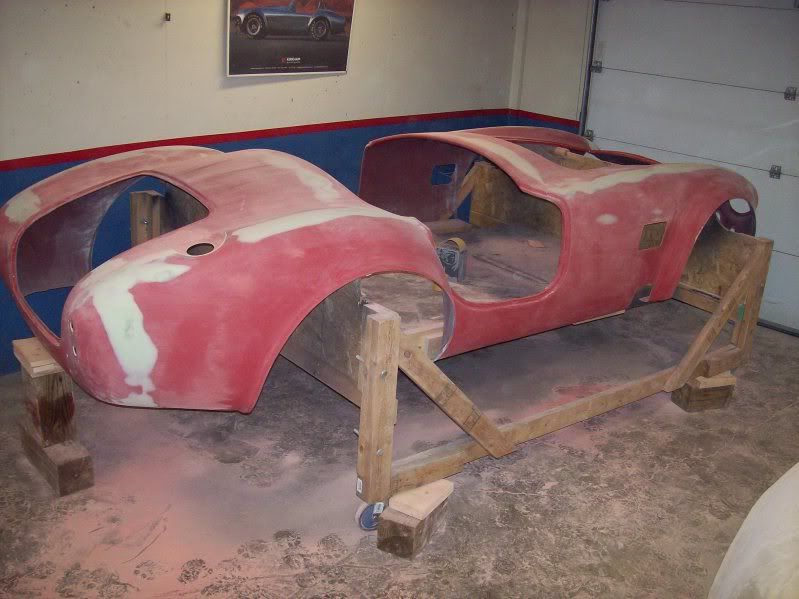
Since last year when the Mk4 was introduced with great fanfare about the improved body, molds and methods everyone has been asking about body prep and how it compares to earlier cars. Now that I have my hands on one I decided I might as well try to document it and report my observations and impressions.
As some of you know I am building "indy14" Steve's car (build thread in the signature below). Our original plan was that I would do all of the mechanicals and then Steve was going to have an old friend of his do the body prep and paint. As luck would have it that unravelled when the gentleman closed his body shop and retired! After interviewing several reasonably local pros who have done FFRs we found two things that were common with them all; 1) they are afraid of loosing their *** and quote the job high and open ended, and 2) they are going to do insurance/collision work first, keeping the FFR as filler. After this became apparent Steve e-mailed me and said something to the effect of "You did your car (a mid run MK3) and it looks allright, do you want to do mine?". I chewed on it for a week or so and decided "Oh, what the hell?".
Here is what I've seen so far on this sample of 1:
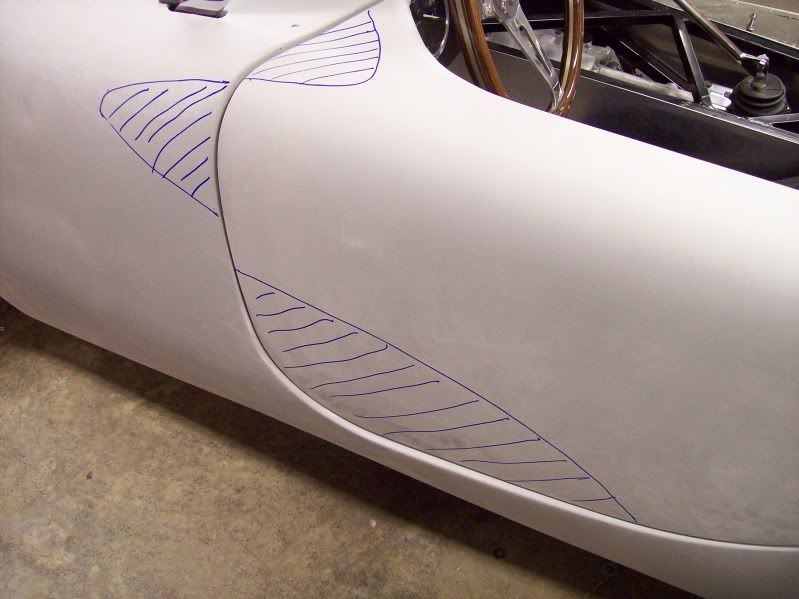
--The panel alignment is very good overall; it was a little off on the right rear quarter.
--There is no gelcoat in the parting lines.
--There are some pinholes. On this body there was a cluster of 40-50 on the RH side above the fender vent stretching back to the door opening.
--Found some voids across the nose and at the 3 way intersection of the rear quarters/deck/tail cap.
--These two are anomolies I'm sure; while knocking down the mold flashing along the parting line on the top of the LH front fender and at the vertical line running down RH rear quarter I found big globs of gelcoat that did not cure fully. Both were about the size of a silver dollar and once I broke through the top with a DA they were gooey inside. This body was delivered in late June and those spots were still soft...odd??? After getting the gelcoat out the glass behind these two spots was very thin. I built both back up with 3M HSRF and moved on.
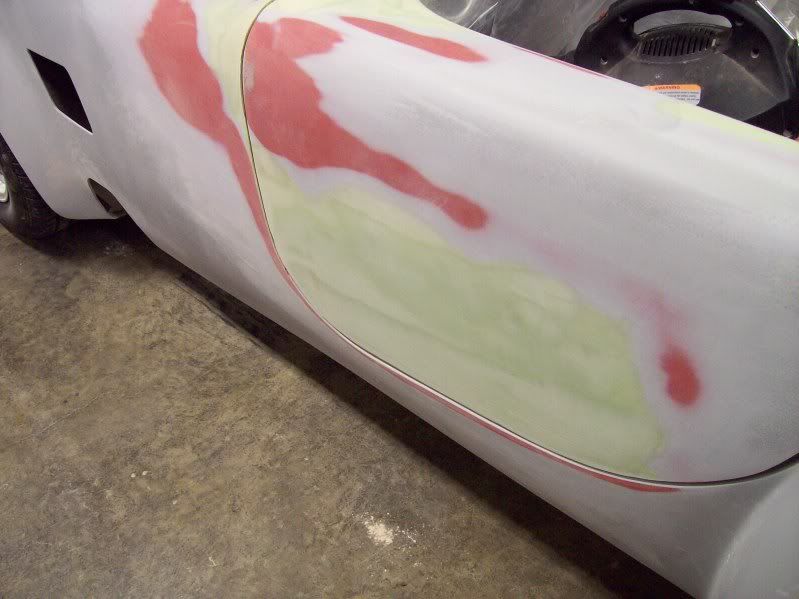
--I blocked the entire body out with 150 and while I wouldn't send it to paint without further attention it is pretty good. Driver's side is actually quite straight with just a dip up high where it will meet the door. Passenger side has some waves that did not come out yet. I'll block after Slick Sand and see it they are still there.
--The doors have a lot of waves that initial blocking did not take out. Again we'll see how they look after the high build primer. I'd bet that doesn't take all the waves out but there really is no point in trying to skim them until I get them hung and can see how they meet the main body. Like the earlier doors they need attention where the inner and outer are bonded at the top edge.
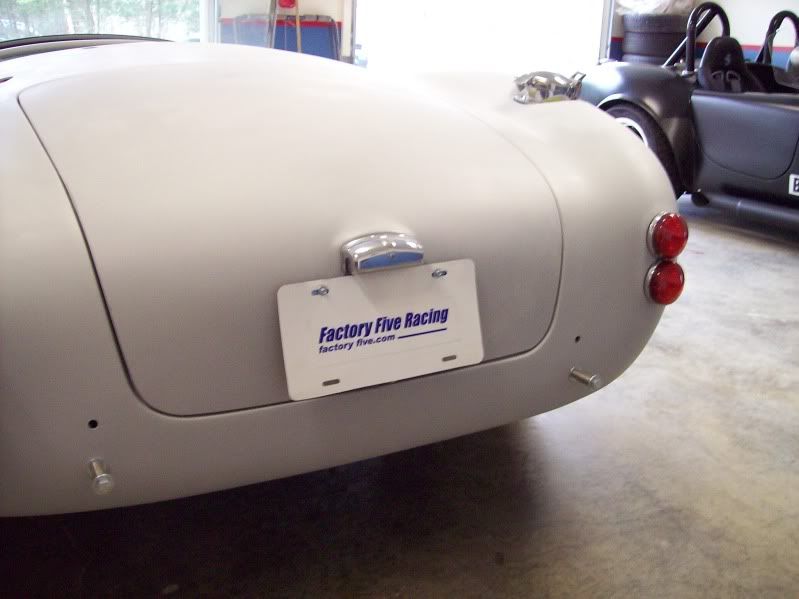
--The hood and trunk are both pretty straight and flat. Some waves at the edges but as with some of the other smaller imperfections that might disappear after blocking out the Slick Sand.
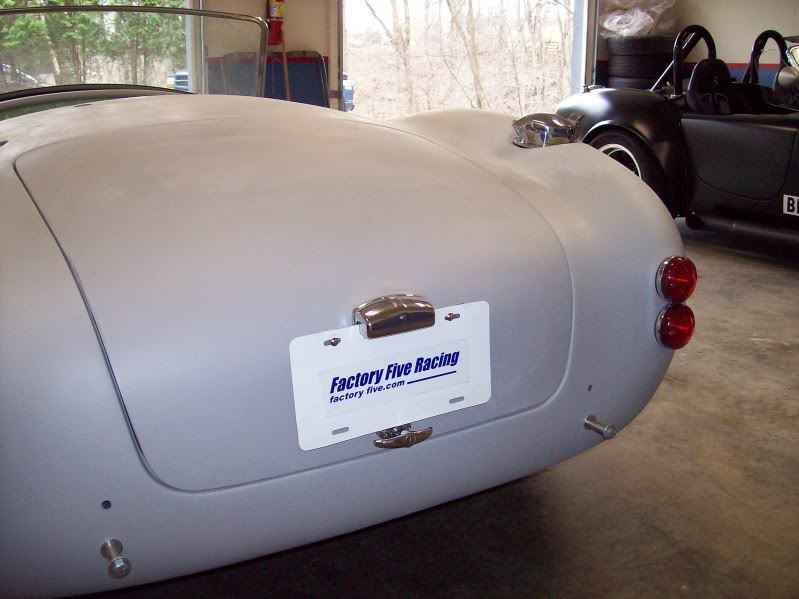
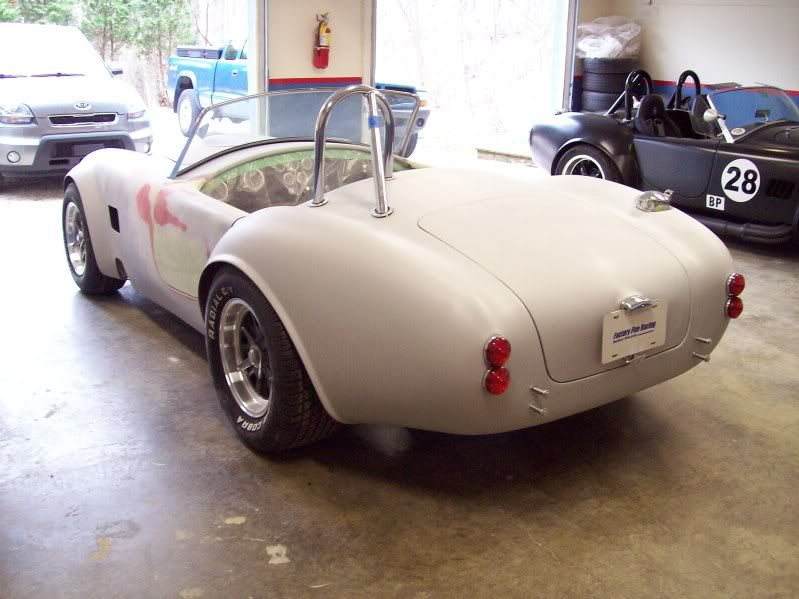
So, that's what I've encountered so far. I have all of the parting lines worked and filled, the wheelwells are cut and rolled and the door tops are rolled. Within the next few days I'll shoot it all with Slick Sand then get the body on the chassis to begin fitting the moveable panels. The Mk4 is definitely improved but the real test will be when I find out how well the doors, hood and trunk align with the main body after mounting. I'm hoping that it will be good enough to use that term "vast improvement"!
Nothing real exciting to see as far as photos right now; just filling and smoothing parting lines so far (same as on a Mk3 but with red dust instead of black!) but as things progress I'll add text and pics.
Cheers,
Jeff