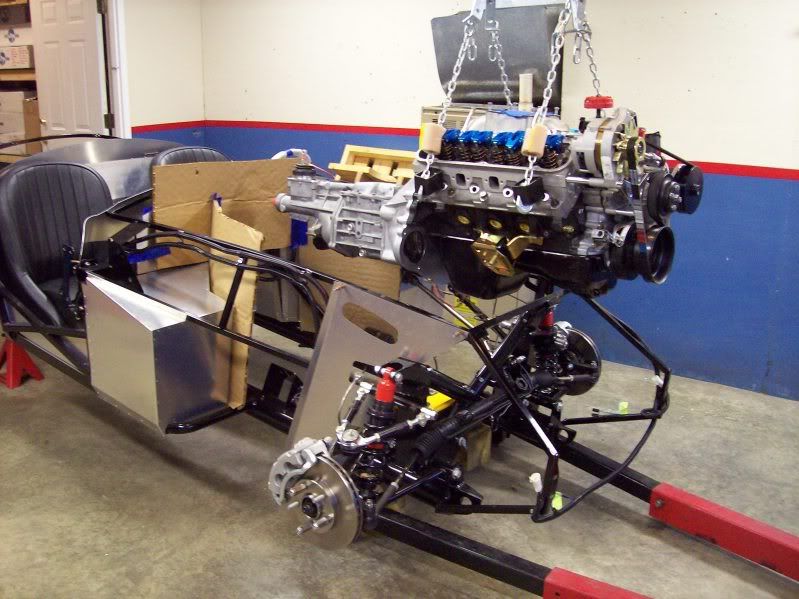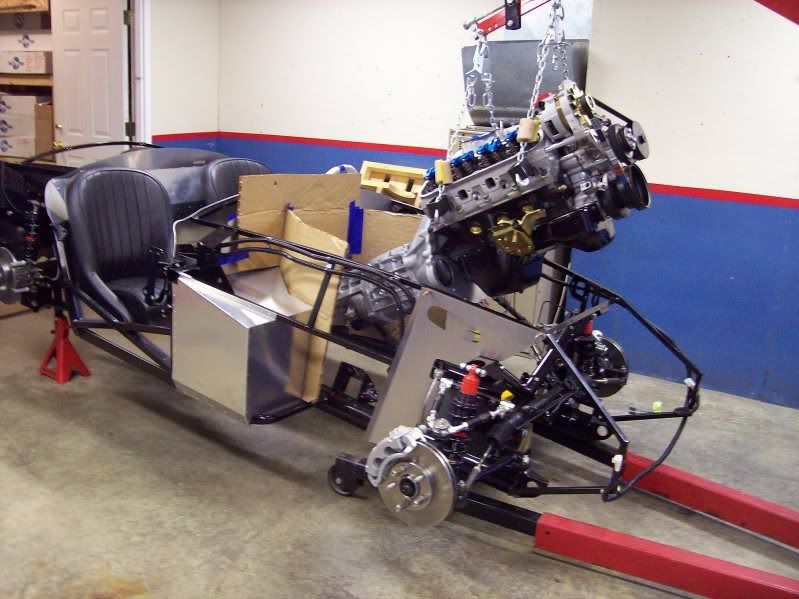

Well, I guess its time to start my build thread. I'm Steve from Indiana and my Factory Five Mk 4 Roadster has arrived and is being built. I've waited 43 years for this type of car. I was lucky enough to meet a gentleman named Jeff that let me ride in his Factory Five Roadster and will help me build my car. I will create a website for my build because looking at others was the way I learned most of what I know about Factory Five Roadsters. Also just to be correct, Jeff will build the car. I may be able to hand him a tool or part when needed.
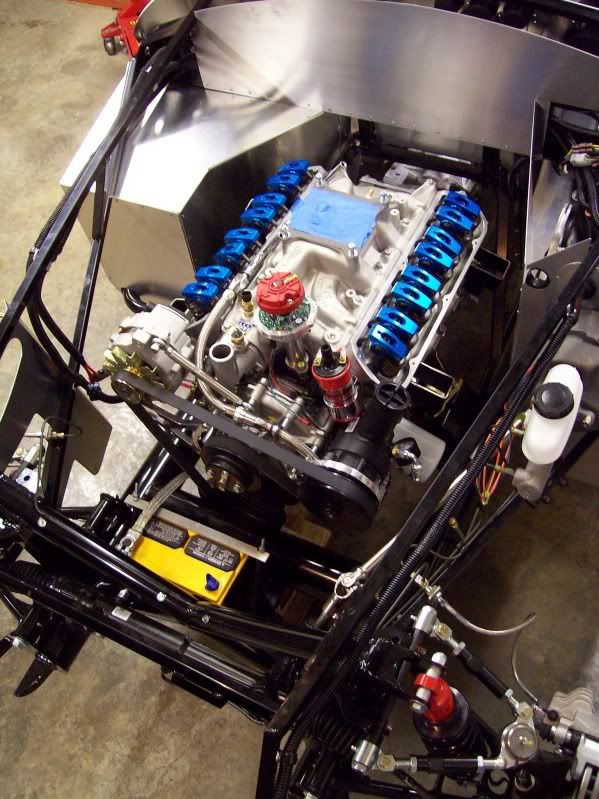
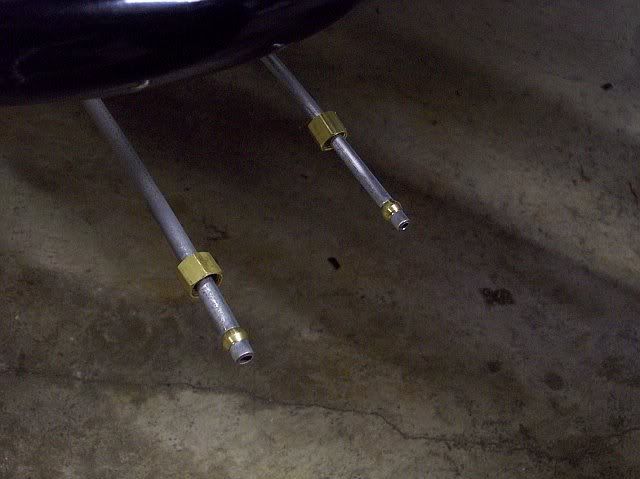
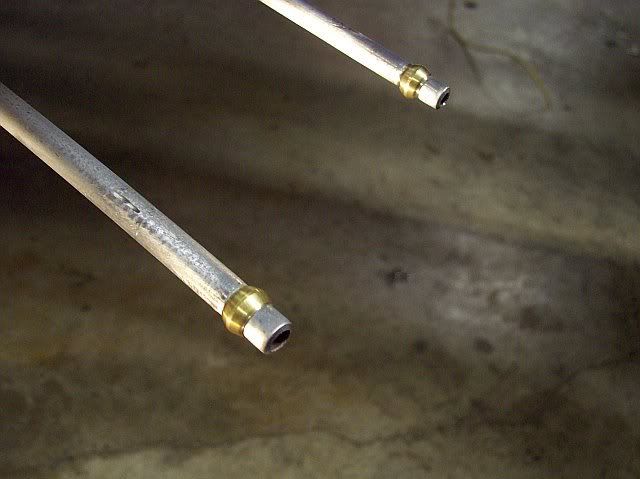
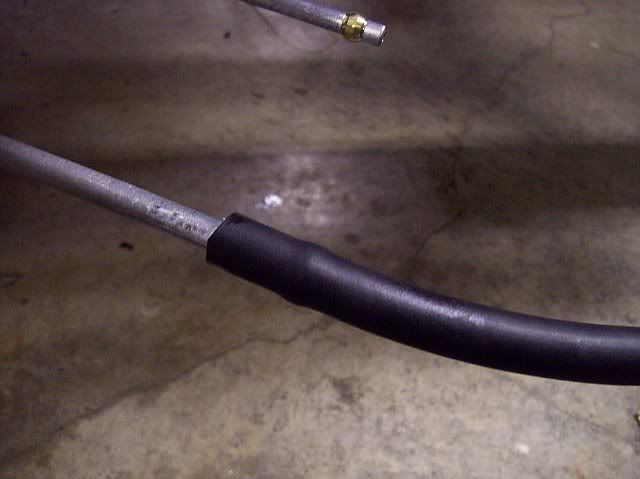
What prompted me to start a build thread was after I went out to help Jeff work on my car. He had installed the brake & fuel lines. He did an excellent job. Looks like it came from a factory.
Thanks for doing a great job.
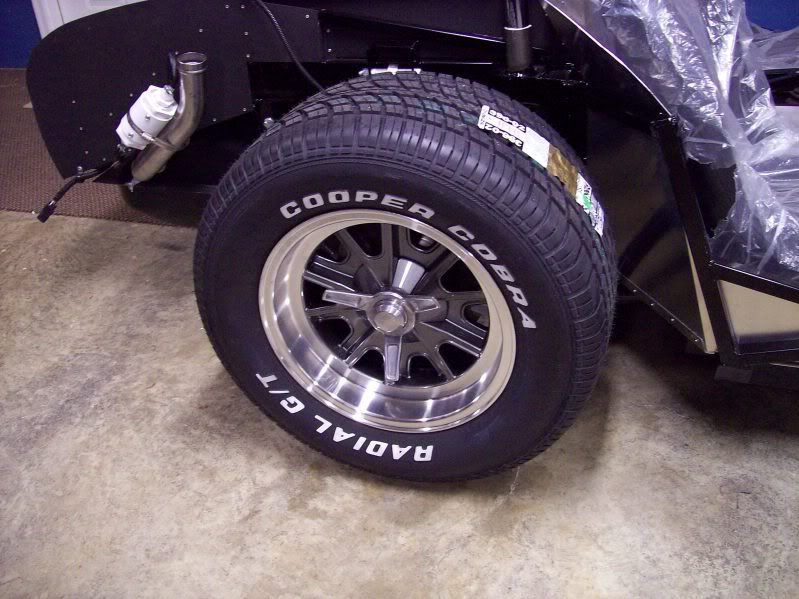
See the website for progress.
What prompted me to start a build thread was after I went out to help Jeff work on my car. He had installed the brake & fuel lines. He did an excellent job. Looks like it came from a factory.
Thanks for doing a great job.
See the website for progress.

")