
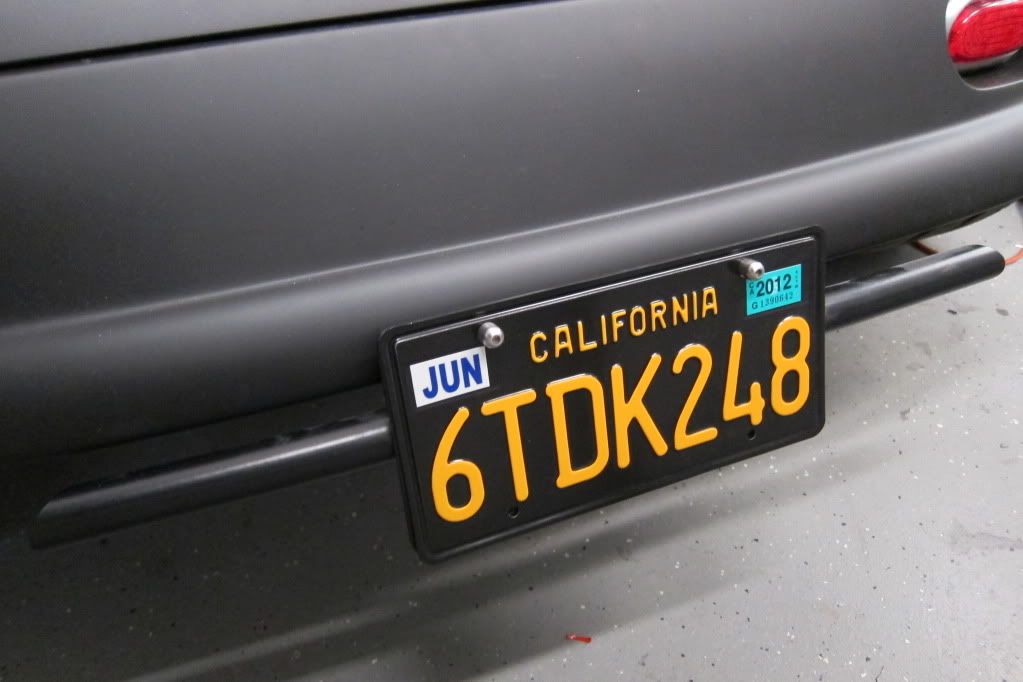
Hey all,
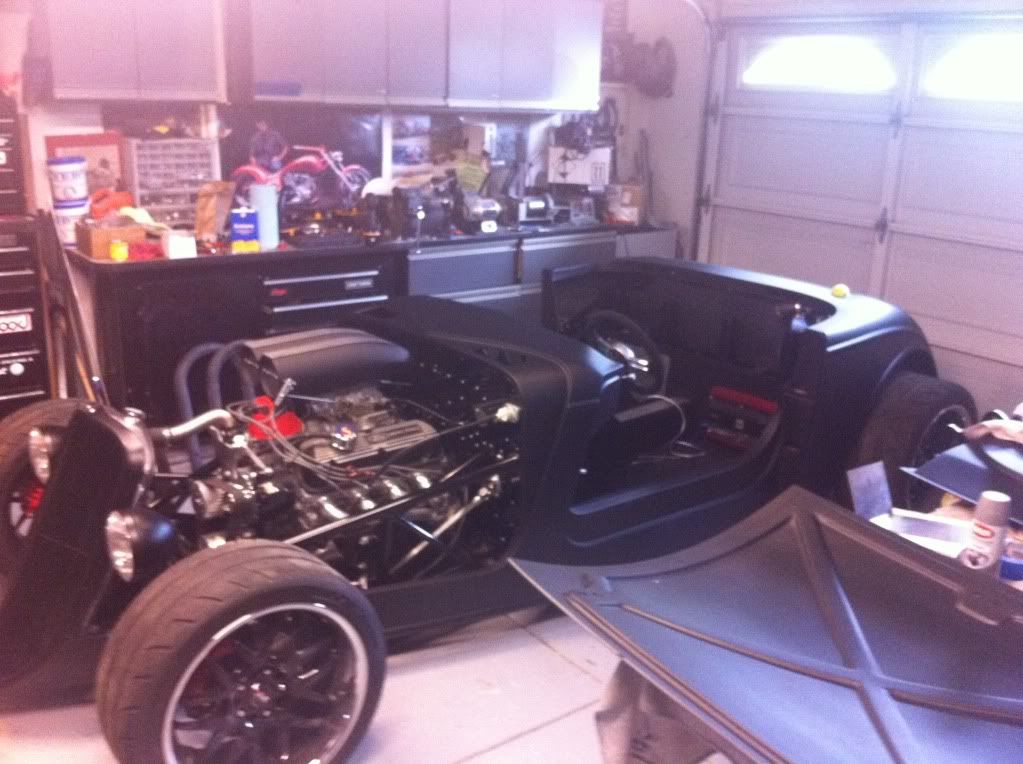
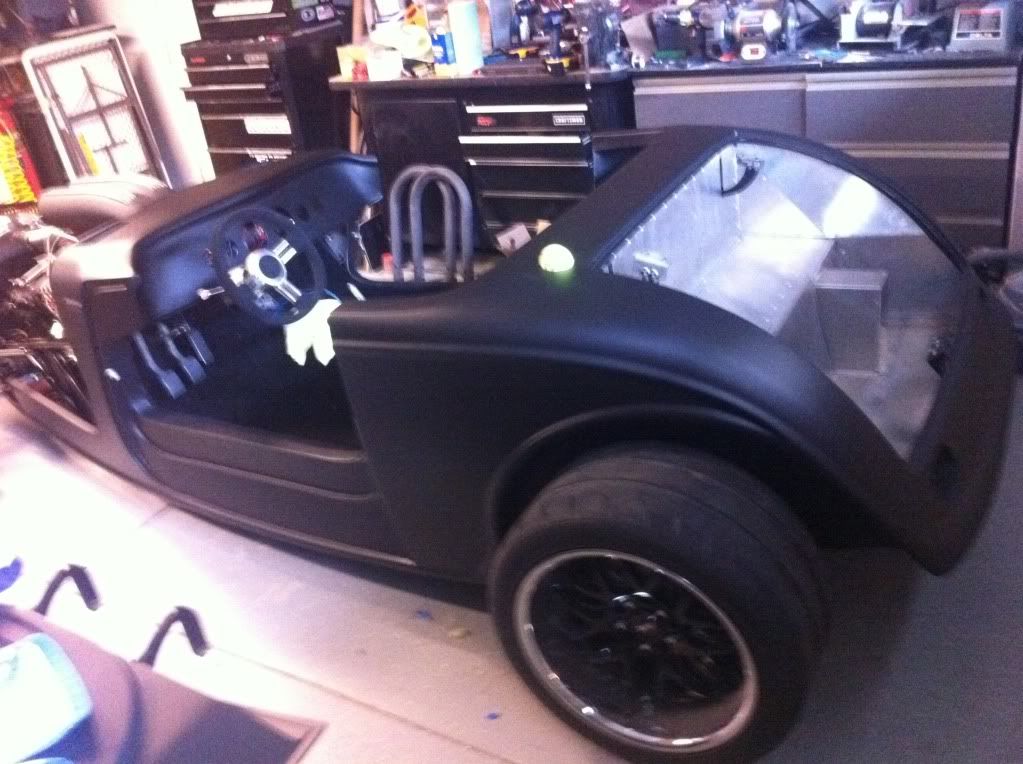
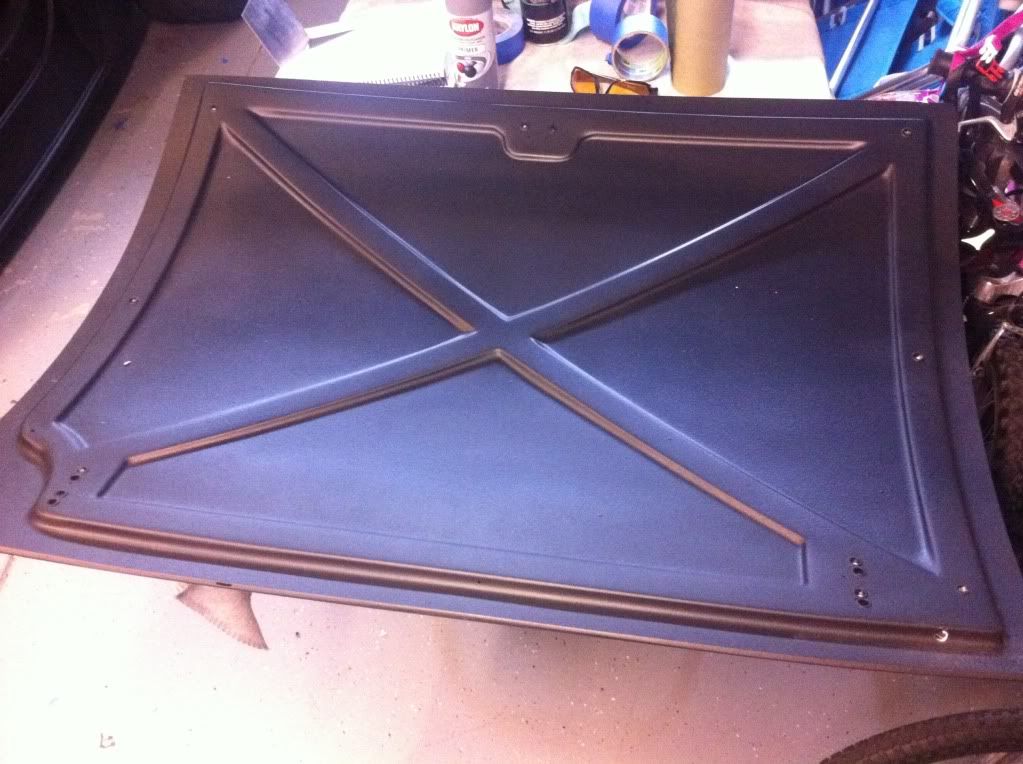
Finally started my build today. Really excited. Just realized there were more parts than expected to powdercoat. I'm surprised the 3 link setup does not come powdercoated but since it's an option they must not do it with the frame. It took a few minutes to clean them up the welds (they got more balls sticking out than the US Men's Olympic swim team) and I'm off to the PC. Then, back to inventory!
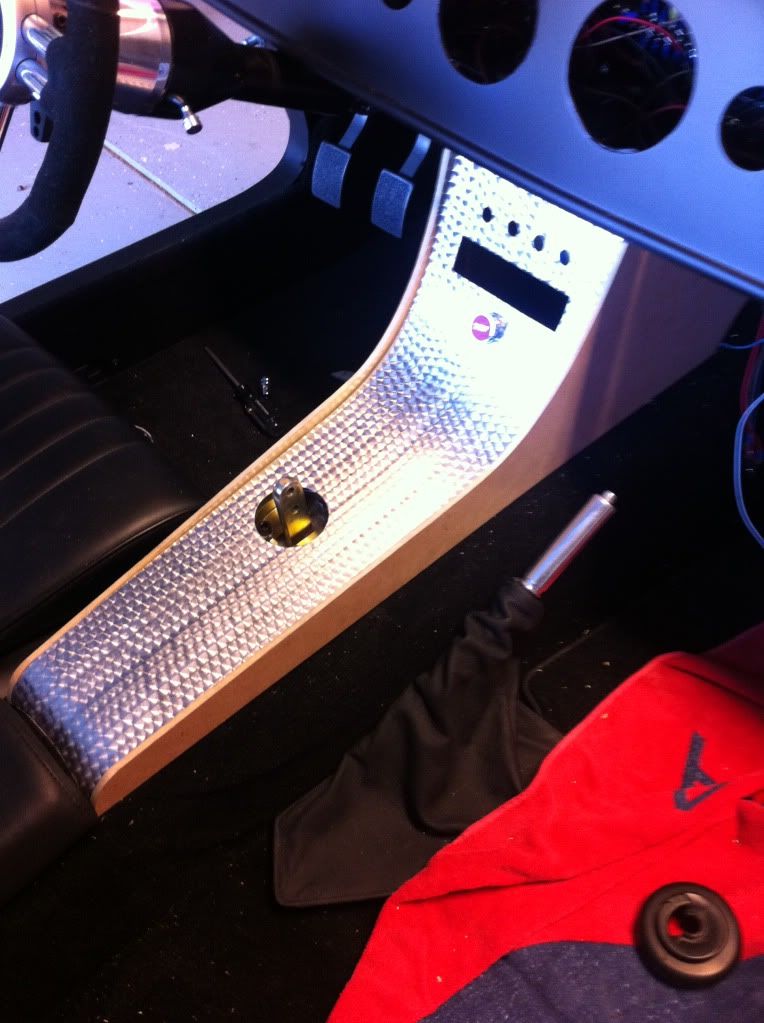
Here's my photobucket album!
http://s897.photobucket.com/albums/ac177/ehansen007/
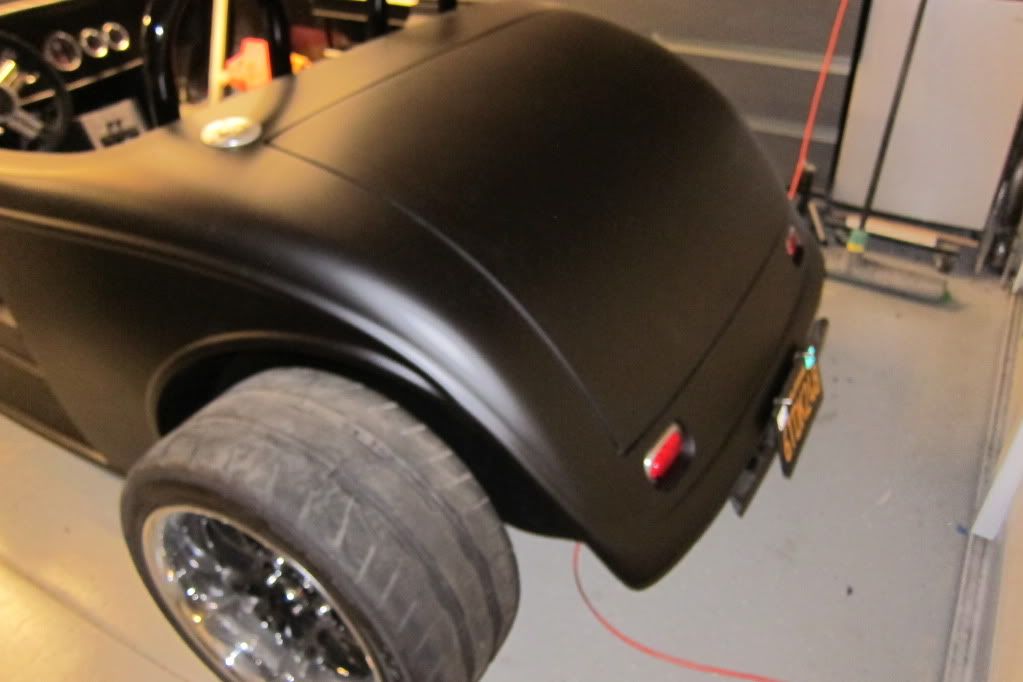
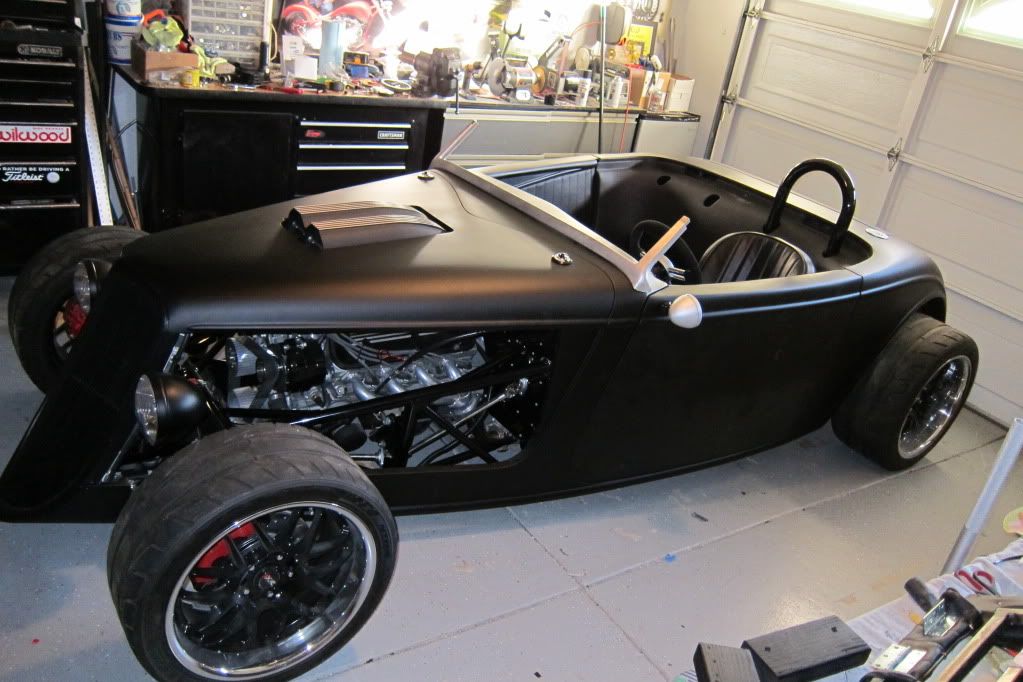
Also, I got my rear end from a local performance shop called GRC. It was used off a mustang he swapped out for a racing rear end. Umberto over there is swapping out the bearings, converting to disc, changing the oil and even hacking off the dog ears and painting it for an even grand. It's a 2.73.
I'm also considering having him build the motor for me since he can get me a 302 fully rebuilt with some new lifters and nice heads that should make an even 275HP or so to start. It would also come with a 3 year warranty and he's local. We'll see if I can't find something better on Craigslist before I take the plunge on that.
Take it easy!
![Image]()
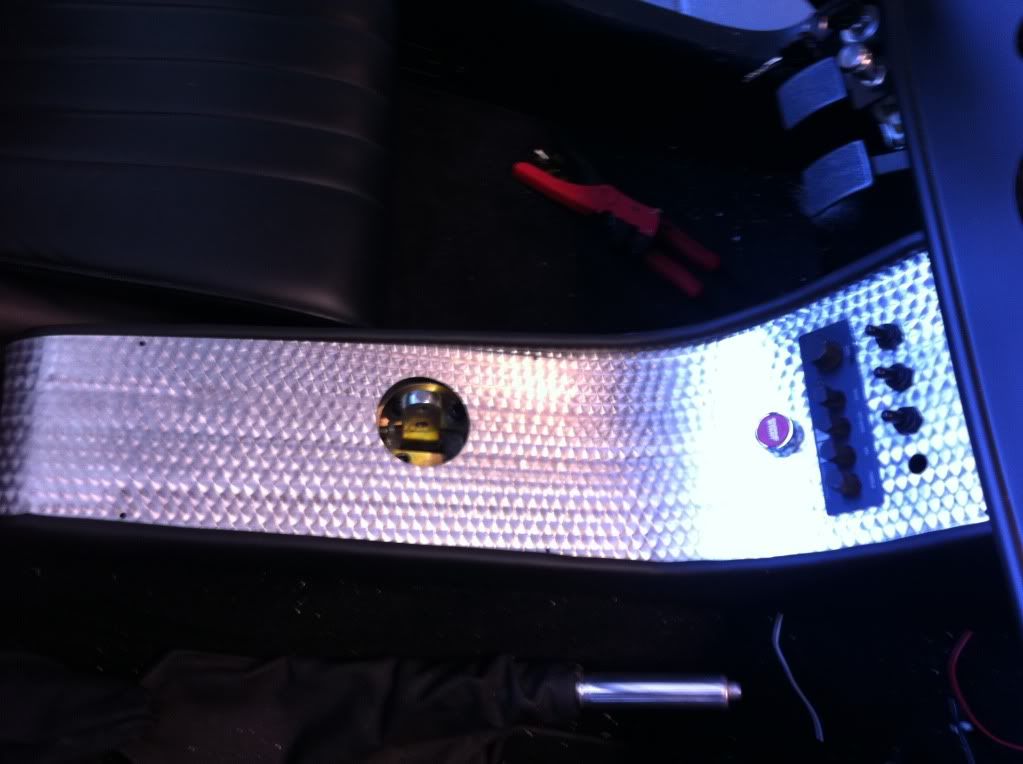
Here's my photobucket album!
http://s897.photobucket.com/albums/ac177/ehansen007/
Finally started my build today. Really excited. Just realized there were more parts than expected to powdercoat. I'm surprised the 3 link setup does not come powdercoated but since it's an option they must not do it with the frame. It took a few minutes to clean them up the welds (they got more balls sticking out than the US Men's Olympic swim team) and I'm off to the PC. Then, back to inventory!
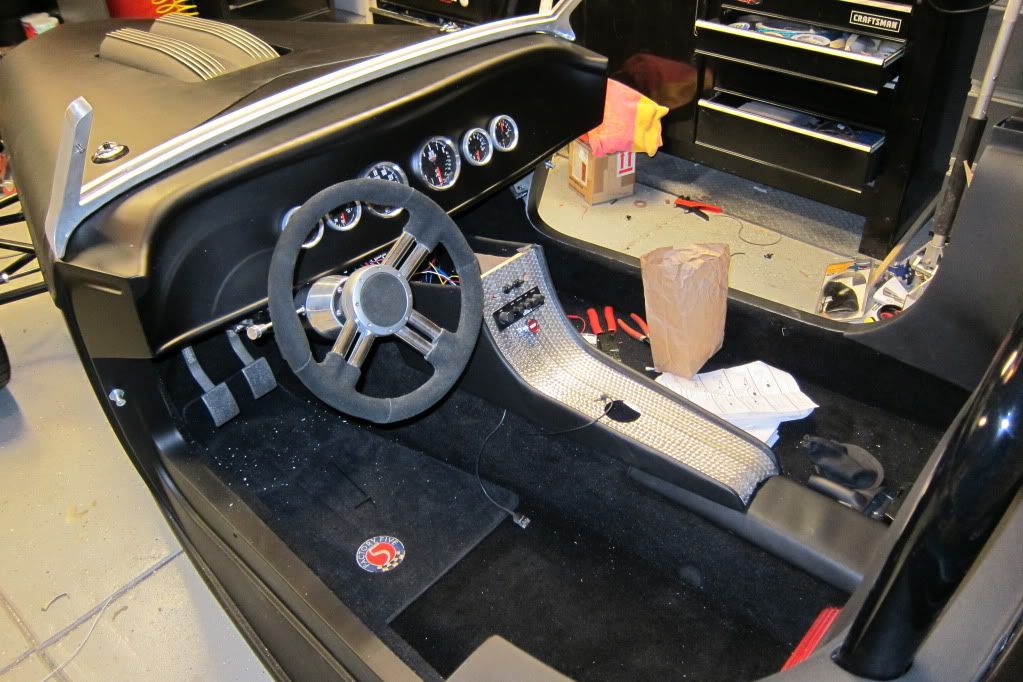
Here's my photobucket album!
http://s897.photobucket.com/albums/ac177/ehansen007/
Also, I got my rear end from a local performance shop called GRC. It was used off a mustang he swapped out for a racing rear end. Umberto over there is swapping out the bearings, converting to disc, changing the oil and even hacking off the dog ears and painting it for an even grand. It's a 2.73.
I'm also considering having him build the motor for me since he can get me a 302 fully rebuilt with some new lifters and nice heads that should make an even 275HP or so to start. It would also come with a 3 year warranty and he's local. We'll see if I can't find something better on Craigslist before I take the plunge on that.
Take it easy!
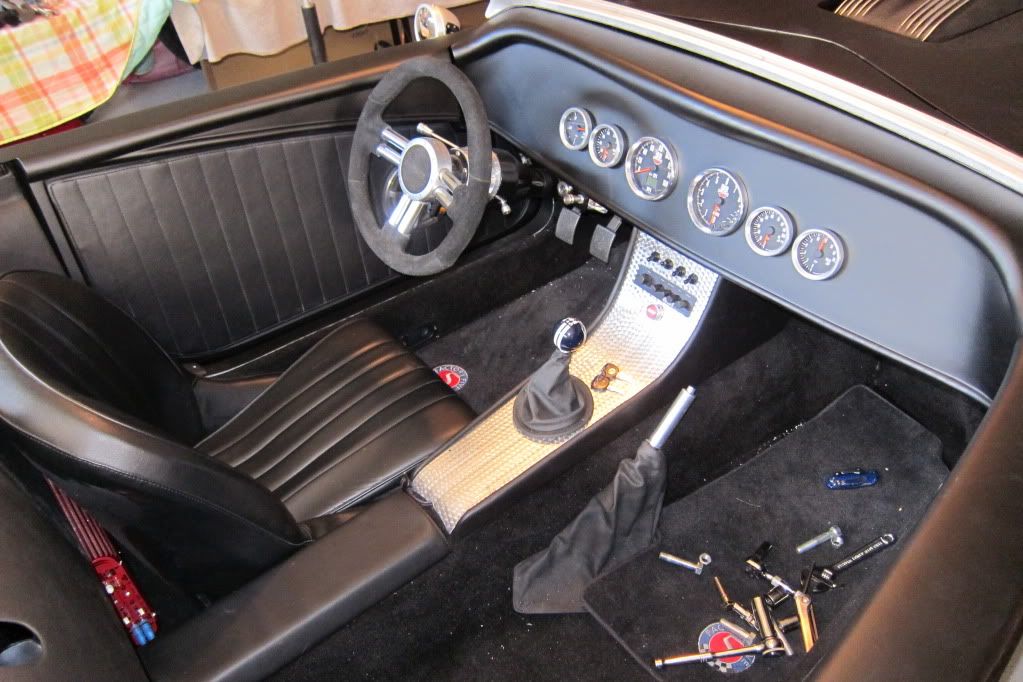
Here's my photobucket album!
http://s897.photobucket.com/albums/ac177/ehansen007/
")