UPDATED - REVISED Back Braces for Kirkey Low Back Vintage Seats
I'm working on the installation of my Kirkey low-back seats (see this thread for how I reshaped them) before sending them over to the upholsterer for leather covers. I like how the Breeze mounts give the seats a nice angle, so wanted to use those - but didn't want to use side-mounts.
In order to do this, I needed to come up with some sort of a back brace that would give rigidity across the back, not just in the center. I'm in the process of doing the metal fab work, but here are some pictures of the cardboard versions.
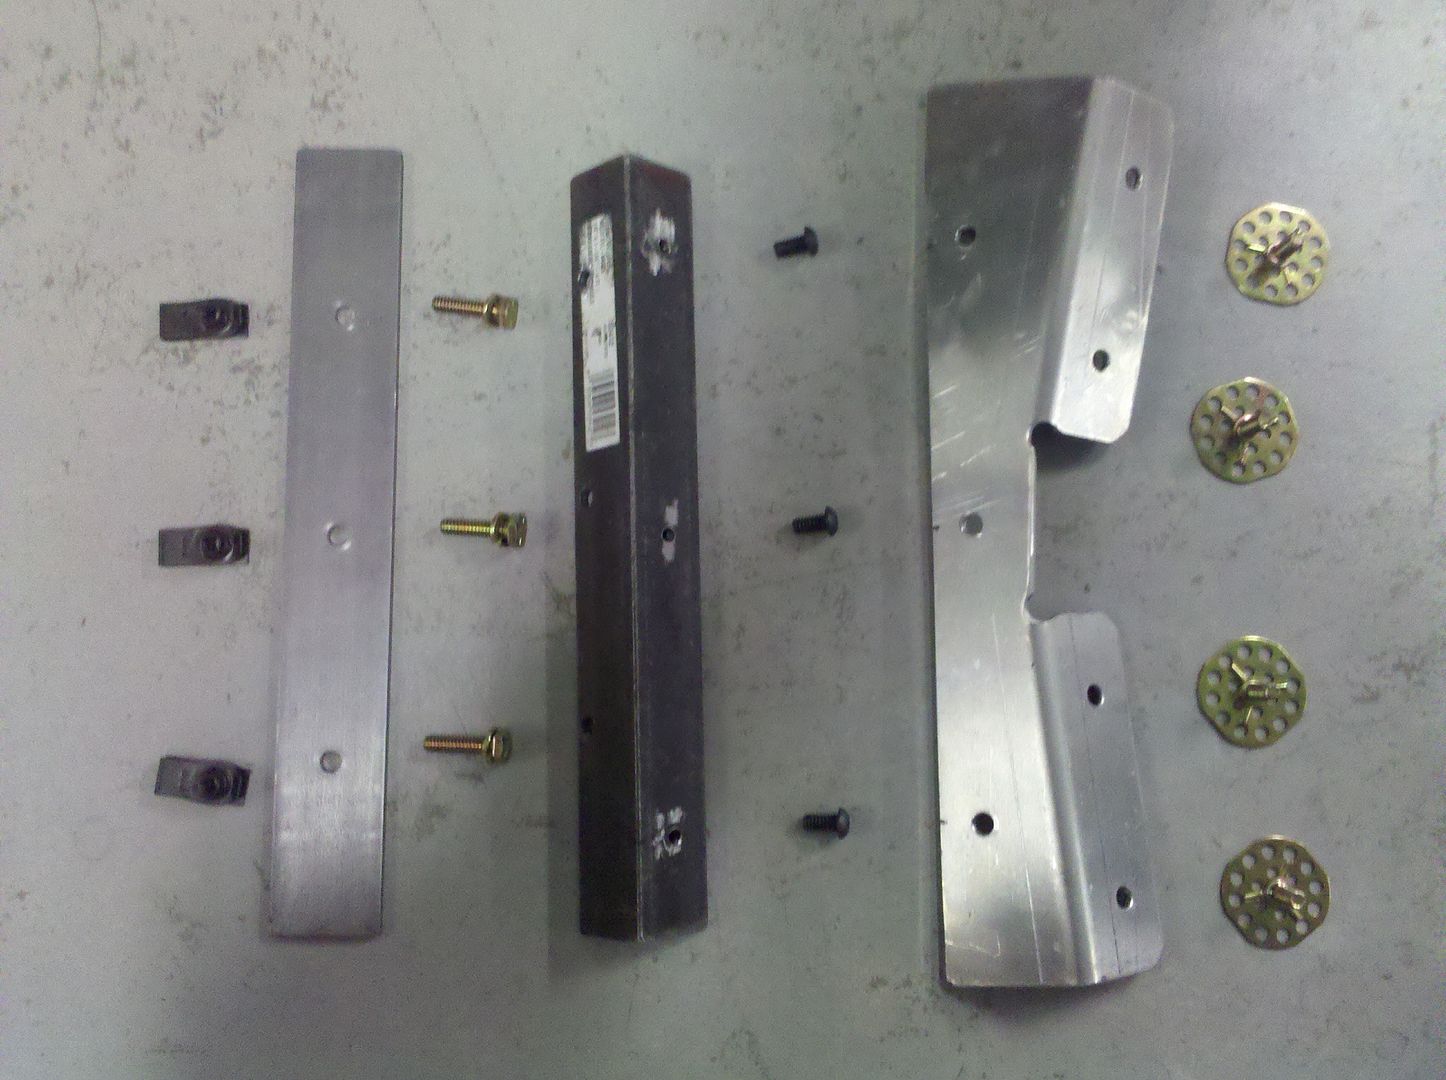
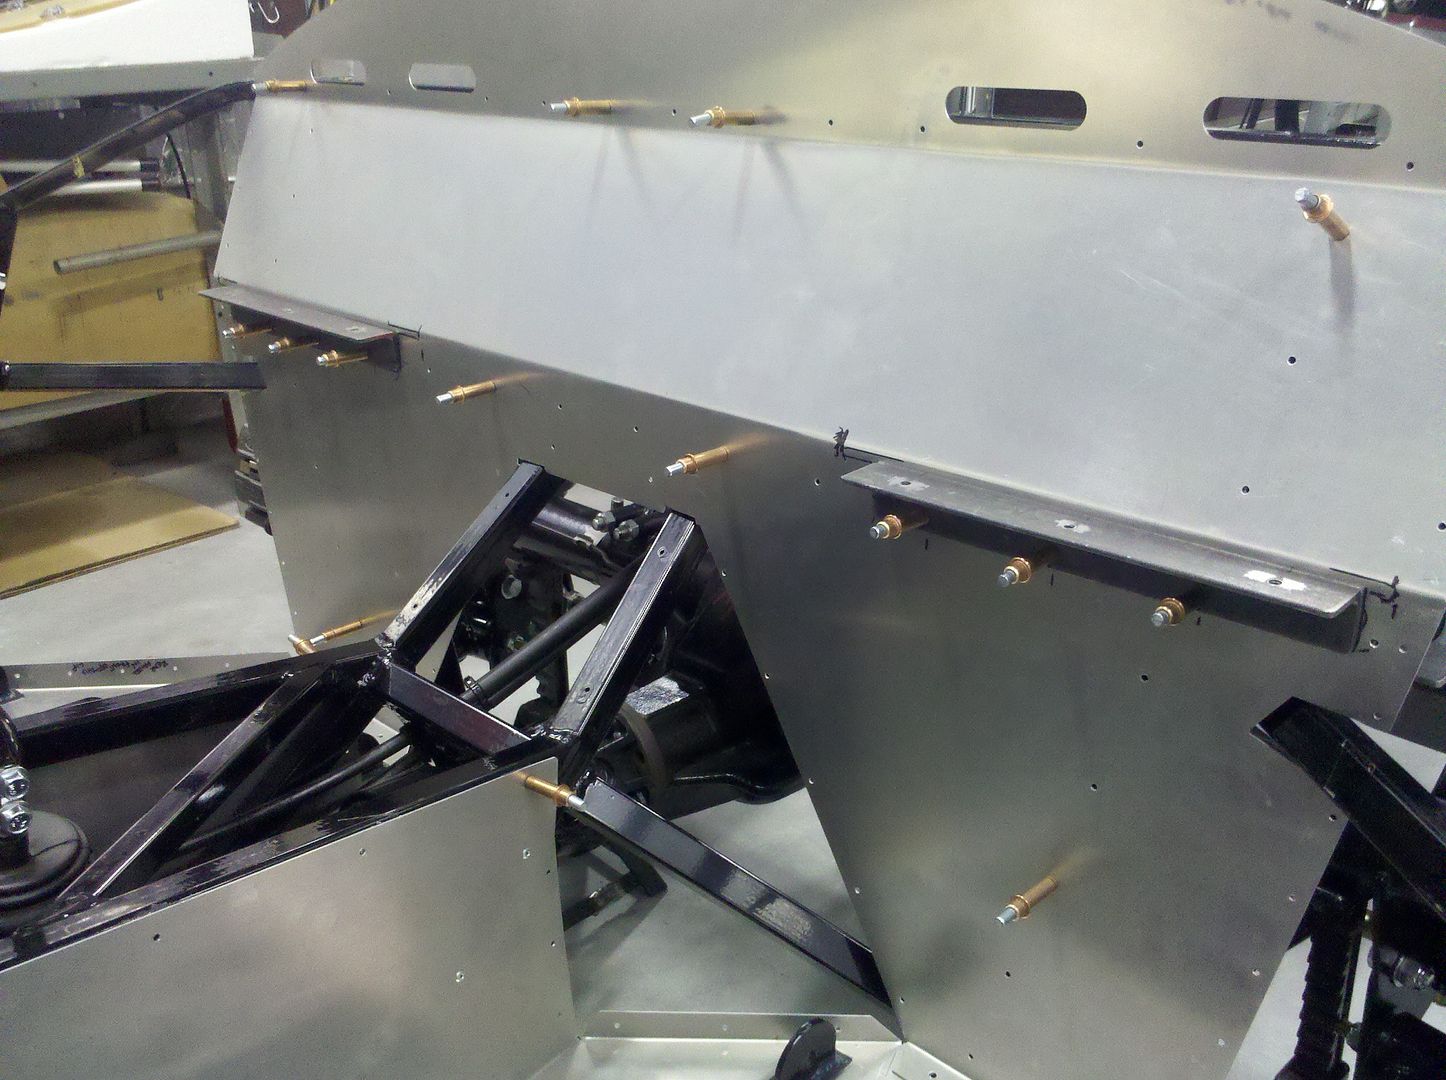
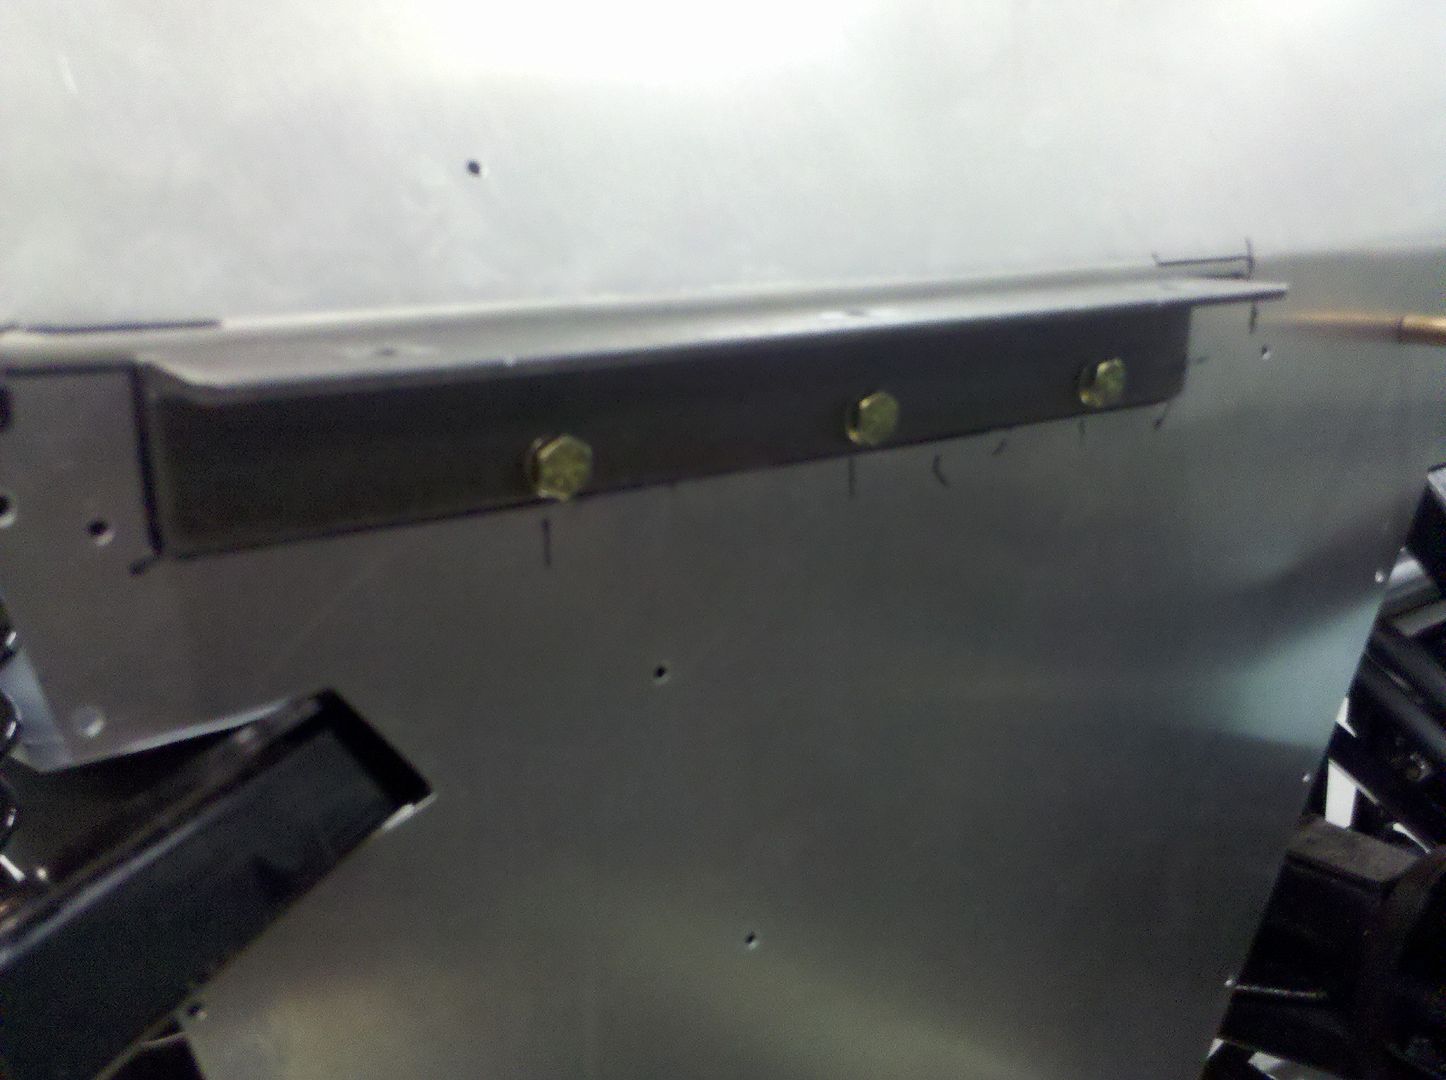
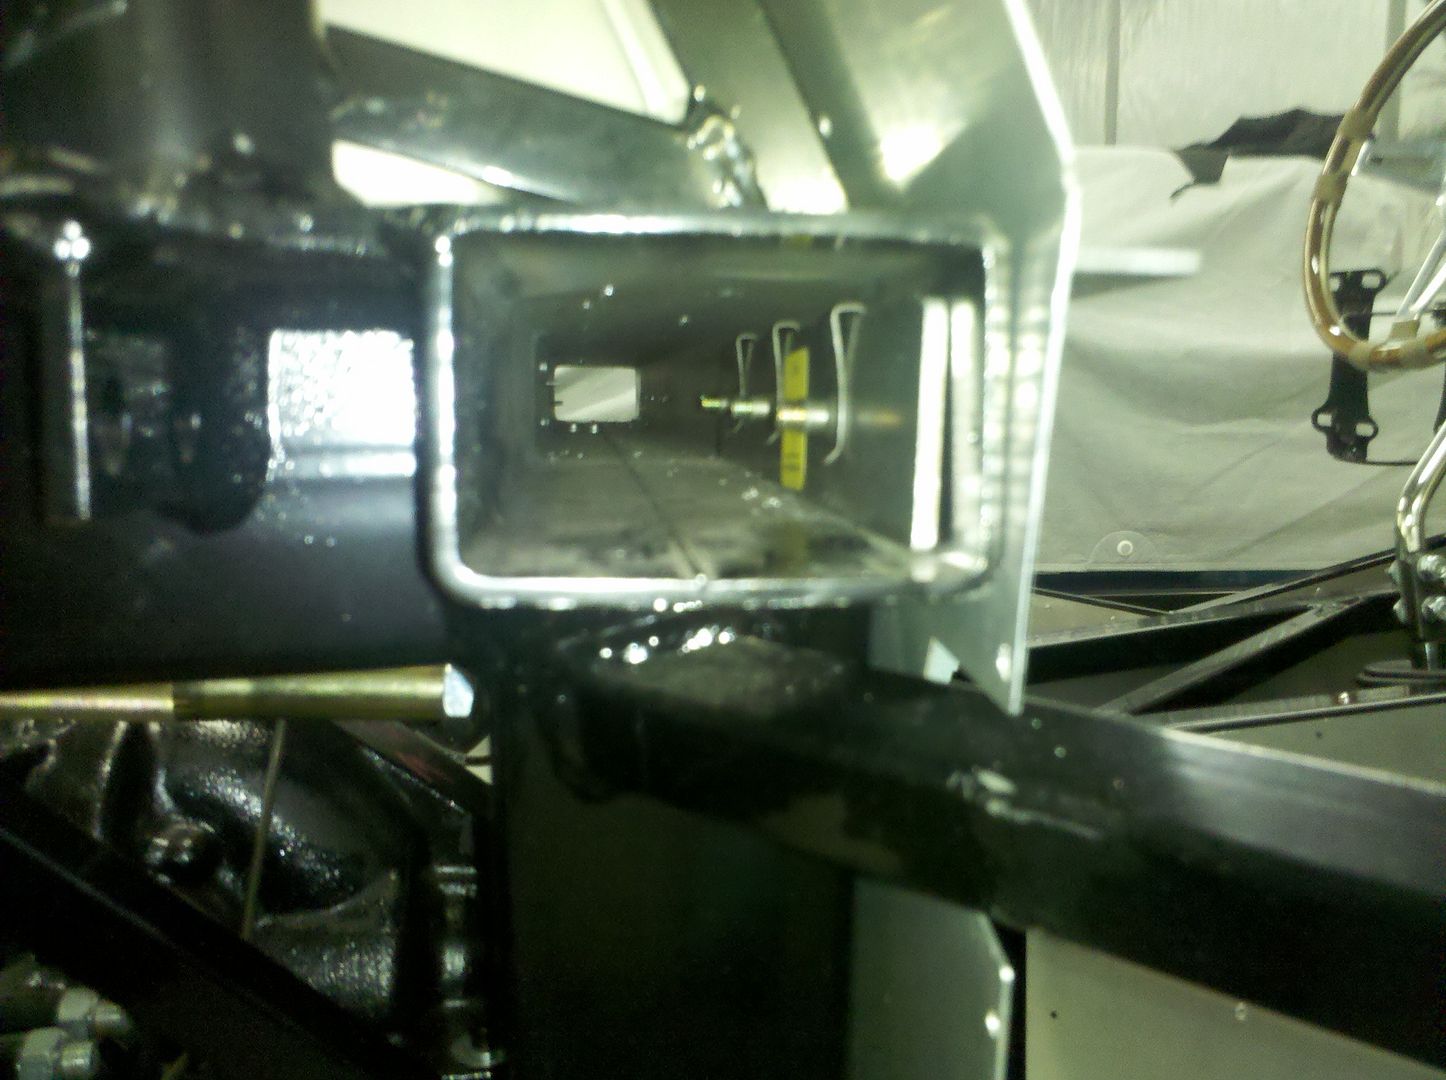
Each seat has two shoulder-level braces, which completely eliminate rearward flex of the seatback, as well as side-to-side flex as the occupant uses the upper wings as a hand-hold when entering and exiting the car. The 1"x2" tubing will pass through holes in the rear bulkhead and will be bolted directly to the 2"x3" chassis tube. The seat ends of those tubes will have 1 1/2" flat stock that will be gussetted (not shown in the mock-up) and will be attached to the seat via studs that will be mounted to the seatback and protrude through the leather covering. The inside of the seat back will have the stud plates (3"x4" flat stock) to which a pair of perforated weld base studs will be attached. Those stud plates will then be riveted to the seatback and completely covered with padding.
Here are a few pics - I'll post more as I make progress with the fabrication.


